Showing posts with label tasty. Show all posts

Thursday, September 10, 2009

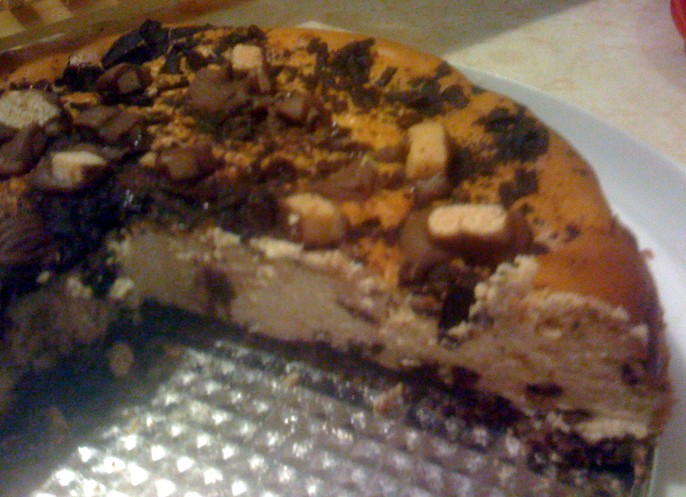
Low Carb Peanut Butter Chocolate Chip Cheesecake

Okay, if you have a few carbs to spare you can enjoy this rich treat .

chck


Jonathan’s Peanut Butter Chocolate Chip


Low Carb Cheesecake


Crust:


4 Voortman Sugar Free Chocolate Chocolate Chip Cookies


5 Murray’s Sugar Free Peanut Butter Cookies


1 Cup Almond Flour


3 Tbsp Granulated Splenda


6 Tbsp Melted Butter


1 Oz. Un-Sweetened Baking Chocolate Bar


1 Tbsp Semi-Sweet Chocolate Mini Chips


Filling


24 Oz. Philadelphia Cream Cheese


1 Cup Granulated Splenda


¼ Cup Splenda Brown Sugar Blend


4 Large Eggs


½ Cup Kroger Just Right Lower Sugar/Sodium Creamy Peanut Butter


1 Tbsp Pure Vanilla Extract


1 Cup Sour Cream


8 Reeses Sugar Free Miniatures


2 Oz. Un-Sweetened Baking Chocolate Bar


½ Cup Semi-Sweet Chocolate Mini Chips


Directions:


  1. Preheat Oven to 350 degrees

  2. In a food processor, pulse cookies until small crumbs.  Remove and place in bowl and mix in almond Flour and Splenda.  Stir with spoon until well mixed.  Add melted butter; mix well and press into bottom of spring form pan. 

  3. Sprinkle shaved chocolate bar and mini chips on top of crust and put into refrigerator while mixing filling

  4. Place softened cream cheese, Splenda, brown sugar Splenda, and eggs and mix together until smooth.  Add peanut butter and vanilla and mix until creamy.  Add sour cream and finish mixing.  With spoon, fold in 1 oz of chocolate bar, ¼ cup of mini chips, and 4 chopped Reeses miniatures.

  5. Remove crust from refrigerator and pour filling into pan.  Sprinkle rest of chopped baking chocolate and mini chips on top and place in oven. 

  6. Bake for 60-80 minutes.  Time will vary depending on oven.  Do not overcook, the middle should be almost set.  Insert a toothpick into center and you should have a small amount of filling on toothpick

  7. Run knife around the edge and cool before removing the pan outer ring.  Sprinkle remaining chopped Reeses miniatures and refrigerate overnight.


20 small servings = 13 carbs per serving


Monday, August 10, 2009

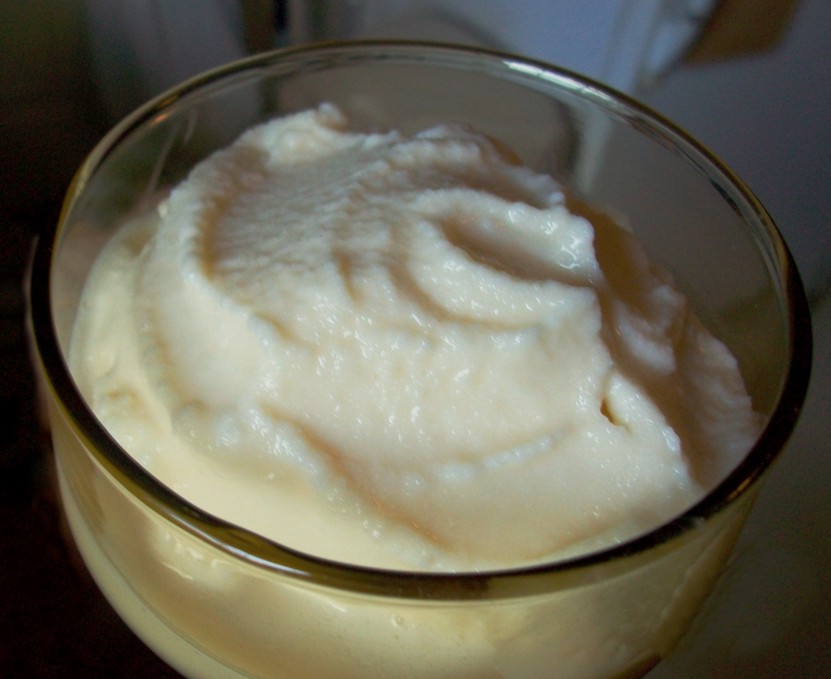
Old Fashioned Homemade Vanilla Ice Cream

Ok, so not a very good photo.  It was melting fast!  I really needed to give the ice cream time to "ripen" in the metal container nestled in the salty ice.  But as it goes around my house when it comes to homemade ice cream - we just can't wait! 

ice cream

Here's the "recipe" I use.  It's my mom's.  That's what I always strive to do, make it like Mom's.  The only thing different I do from Mom is to heat the milk and temper the egg mixture.  Then I call the custard cooked just in case I'm serving finicky people who don't prefer to eat "raw" eggs.

Old-Fashioned Homemade Ice Cream


  • 6 eggs

  • 2 1/2 cups sugar

  • 1/2 teaspoon salt

  • 3 tablespoon vanilla extract

  • 2 each 13-ounce cans evaporated milk 

  • 1 can condensed milk

  • 1 pint heavy whipping cream

  • whole milk , as needed to fill line

  • chipped ice

  • rock salt


In a large mixing bowl, beat eggs. Add sugar gradually, stirring constantly. Add salt, vanilla, condensed milk, and cream.  Heat the 2 cans of evaporated milk in the microwave until boiling.  Add the milk a little at a time to the egg mixture to prevent currdling.  Pour the ice cream mixture into the metal freezer can.  Add enough whole sweet milk until the mixture reaches the container's fill line.  Stir.

Assemble the ice cream freezer. Add alternating layers of chipped ice and rock salt to barrel around freezer can. If electric, plug the freezer in and let it do it's thing, adding more ice and salt, as needed.  When freezer stops, unplug.  Remove top and dasher.  Ice cream may be soft on top (see pic above :D) but will be firmer near the bottom of the can.   Replace top. Cover can with more ice and salt. Cover ice with a towel, allowing ice cream to "ripen" for at least 1 hour, if you can wait!  :) Makes about 5 quarts of ice cream.

Enjoy!

Here's to the happy days of summer!

Wednesday, March 25, 2009

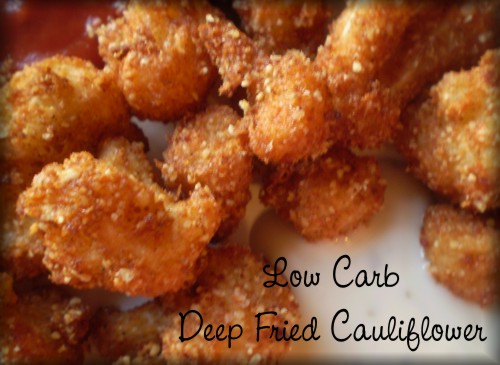
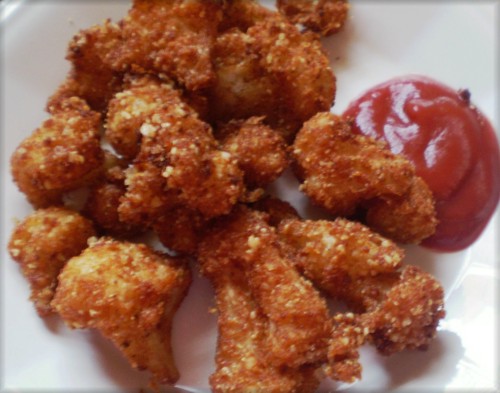
Deep Fried Cauliflower Florets (Low Carb)

cauli

As I was deep frying these little golden bites, different ones wandered through the kitchen and asked what it was that I was cooking. My Handyman finally decided that this was our pre-dinner appetizer.  I didn't tell him they were low carb.  They wouldn't have come within an inch of his mouth had he known.  ;)

These can be served without or with any tasty dipping sauce you like.  We chose Ranch and Heinz LC Ketchup.
Deep Fried Cauliflower Florets (low carb)


One 16oz bag frozen cauliflower

1 egg

3 T cream, half and half, or water

1/2 cup grated parmesan cheese

1/2 cup grated romano cheese

seasoning spices (garlic, salt, pepper, cayenne pepper, etc)

hot oil for deep frying


Rinse and thaw the frozen cauliflower.  Drain off the water.  With a fork or whisk, mix the cream, half and half, or even water with the egg.  Set aside.  Add your preferred spices to both cheeses, stir and set aside.


Put about a cup of cauliflower florets into the egg mixture, stir around until the florets are coated with egg.  Next put the florets into the cheese mixture (I put the cheese into a quart size freezer bag) and shake around until the cauliflower florets are well coated with the cheese mixture.


Carefully drop into the hot oil.  Deep fry 6-8 minutes or until golden brown.  Continue until all the cauliflower is cooked. Drain on paper towels and serve with your preferred dipping sauce.

caulif2